Project Details:
After completing the mid century cabinet and shelving unit, I had quite a few viable off cuts of joined and squared lumber, which, as many of you who work with raw lumber know, is not a thing to waste! So as I stared at the pile of possibility and felt the ache and pain in my lower back caused by too much seated computer time — it hit me! I should make a standing lap top desk!
In keeping with my mid century theme, I designed the legs in a classic, mid century, angular fashion. I pull two pieces of wide enough off cuts – sketched a few angles, and got to cutting out the standing lap top desk leg template (also, one of the legs!). I cut the piece using a bandsaw, given the circular corners, and sanded down any roughness. I then used that leg to trace and cut the second in the pair.
With two – I could adhere them together (using the hack of painters tape and hot glue) and then use the router and trimming bit to make them match perfectly.
Once shaped, I took the standing desk legs to the router once more, this time with a roundover bit, to give the outer edge of the legs a cleaner look.
With the legs ready, I glued a quick spacer between them to make connecting it to the standing desk top easier.
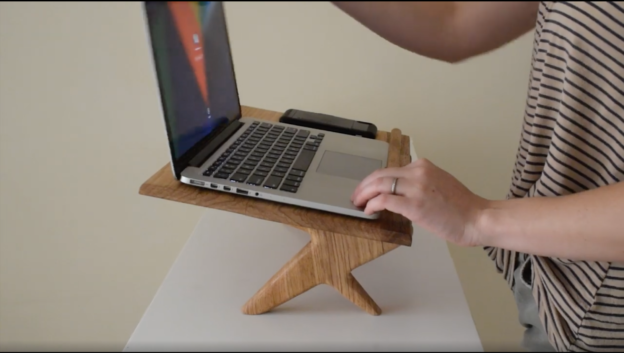
To make the standing desk top, I simply glued ad panel of off cuts together, slightly jogging the pieces to give a more interesting pattern. While this looked cool, my joinery is wanting. If you replicate this standing desk, use tongue and grove, biscuit, or dowel joints to better secure these end grain to end grain, or end grain to long grain joints. I’m currently typing this blog post on the standing lap top desk, so this wasn’t a catastrophic failure in the immediate – but given time, temperature, and humidity level changes, this could pose a problem.
I added a rounded lip to the table top too, to keep the lap top from sliding down. I think in future iterations, I might make this lip a tad bit shorter.
With both components ready, I simply measured and marked where I want the the legs to adhere to the table top, and glued them together! Once that glue dried, it was a simple sanding process (working up from lowest grits to highest grits) and then finishing.
And that’s a wrap!
Want full plans?
Work worth doing.